
How is a resin driveway laid?
Quote, preparation, installation, curing, and other related tasks.
Our methodology has naturally emerged after nearly a decade of laying resin driveways for both residential and commercial properties. We've tried various approaches in the past, but this one stands out as the most effective. It consists of an initial visit, preparation work, edging, mixing resin, spreading resin, and applying finishing touches. Continue reading to see how our process works with photos.
Free Estimate
Contact Us
Stage 1: Prepping The Surface
Prep work can vary depending on the current state of your driveway.
We can either use the existing surface as a base, or we can make a new one.
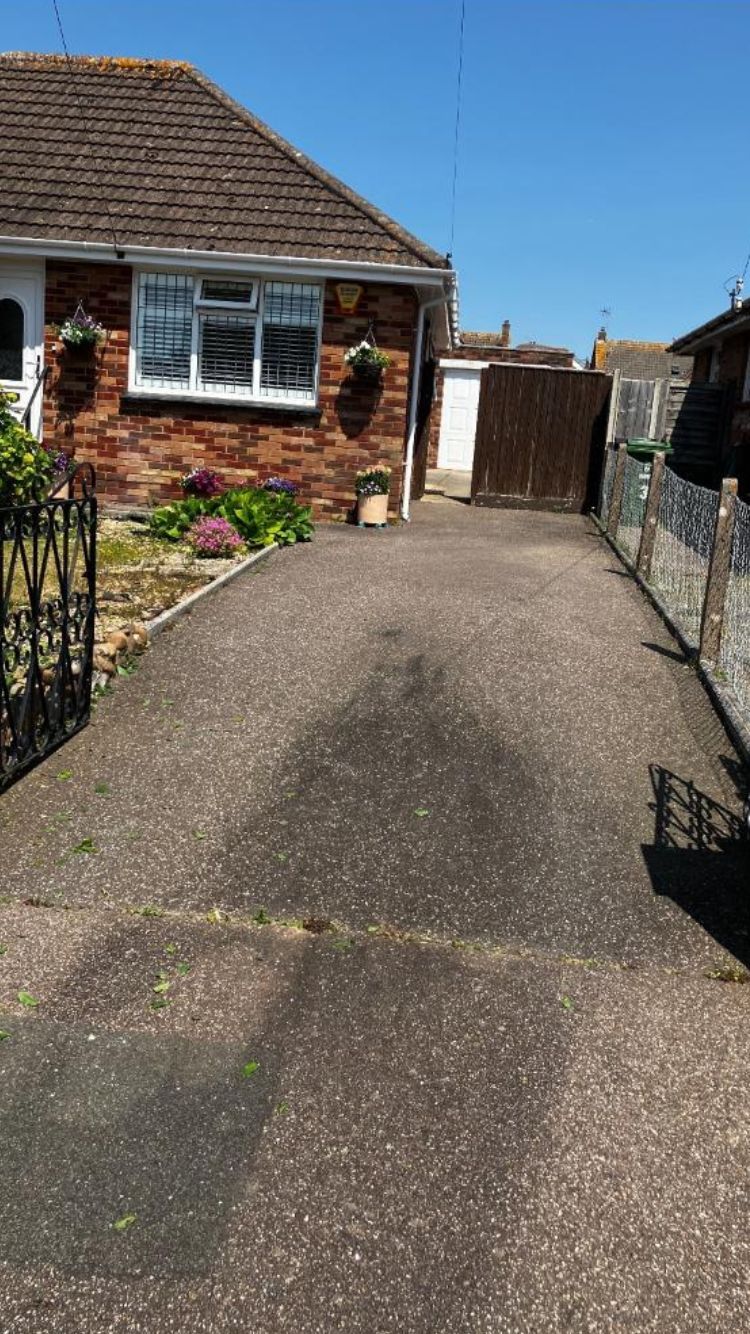
In the picture below, we used part of the driveway as a base. The rest needed a new base.
Here are some pictures to show how to prepare the part that can be used as the base.
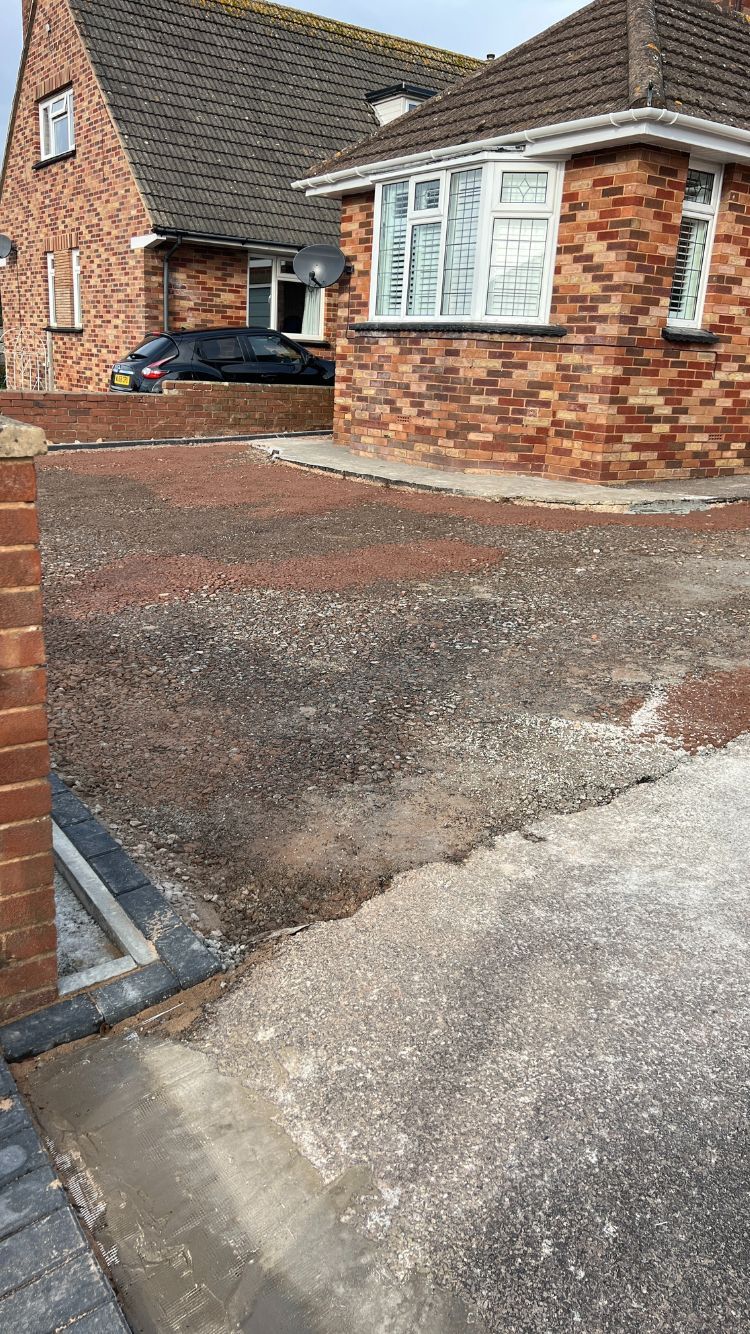
Before the prep
After the prep
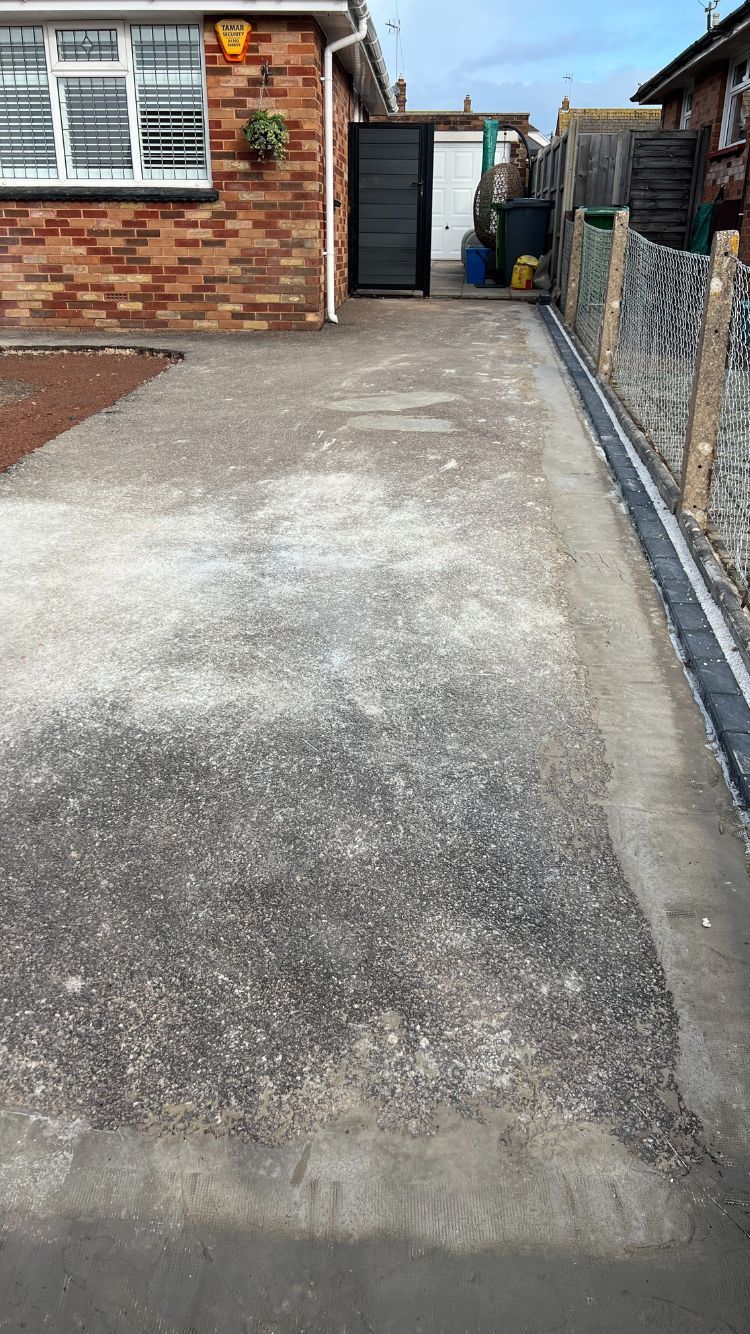
For the other section of the driveway, we need to put in our own base made of permeable tarmac.. Look at this example:
Before
Remove existing surface
After
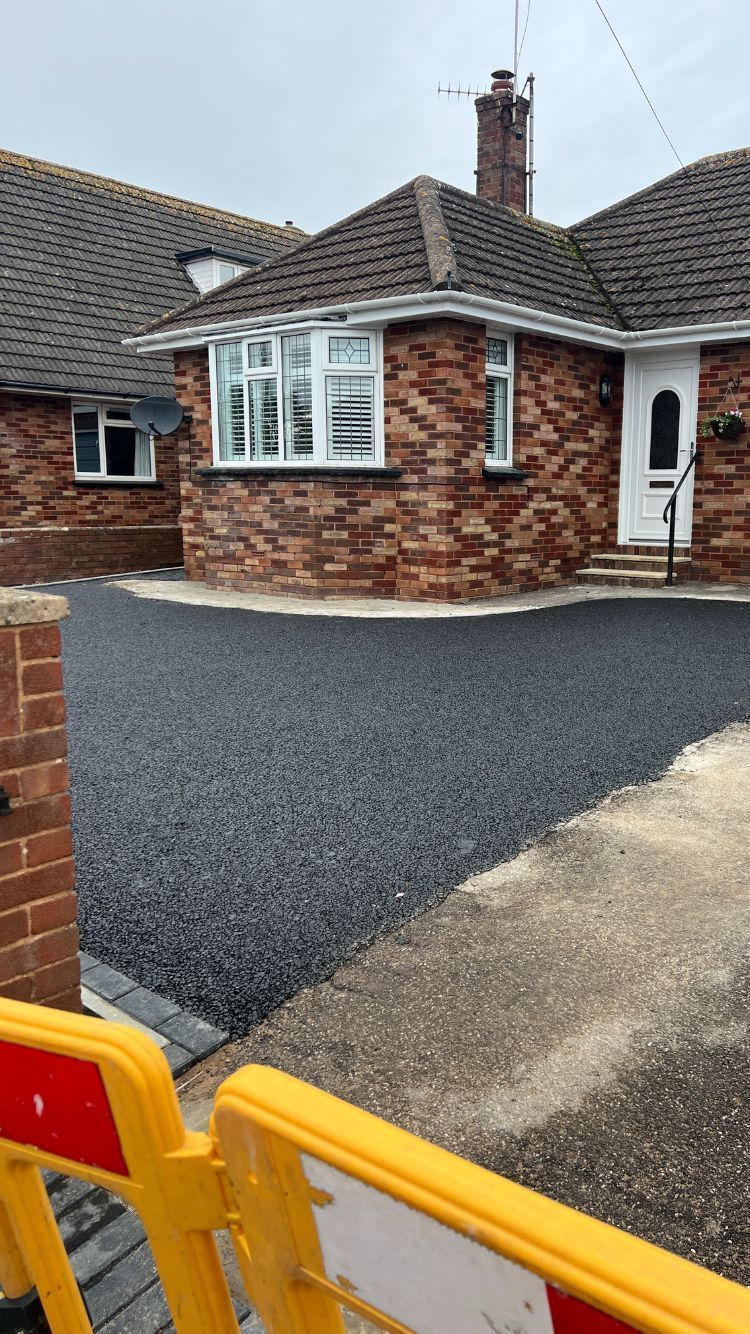
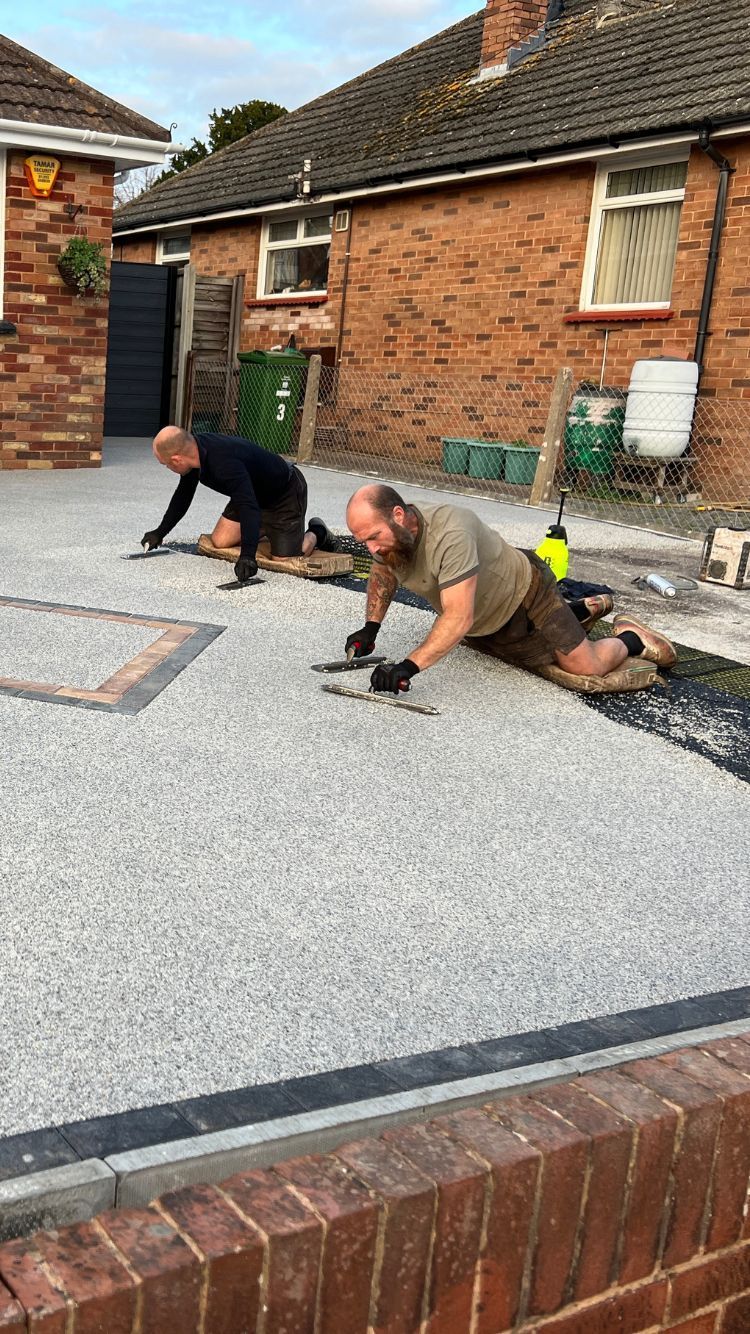
Stage 2: Resin Installation
Then, we can finally spread the resin, which will transform the driveway and revive it entirely.
Please view the images showed below:
Before the resin
During the resin installation
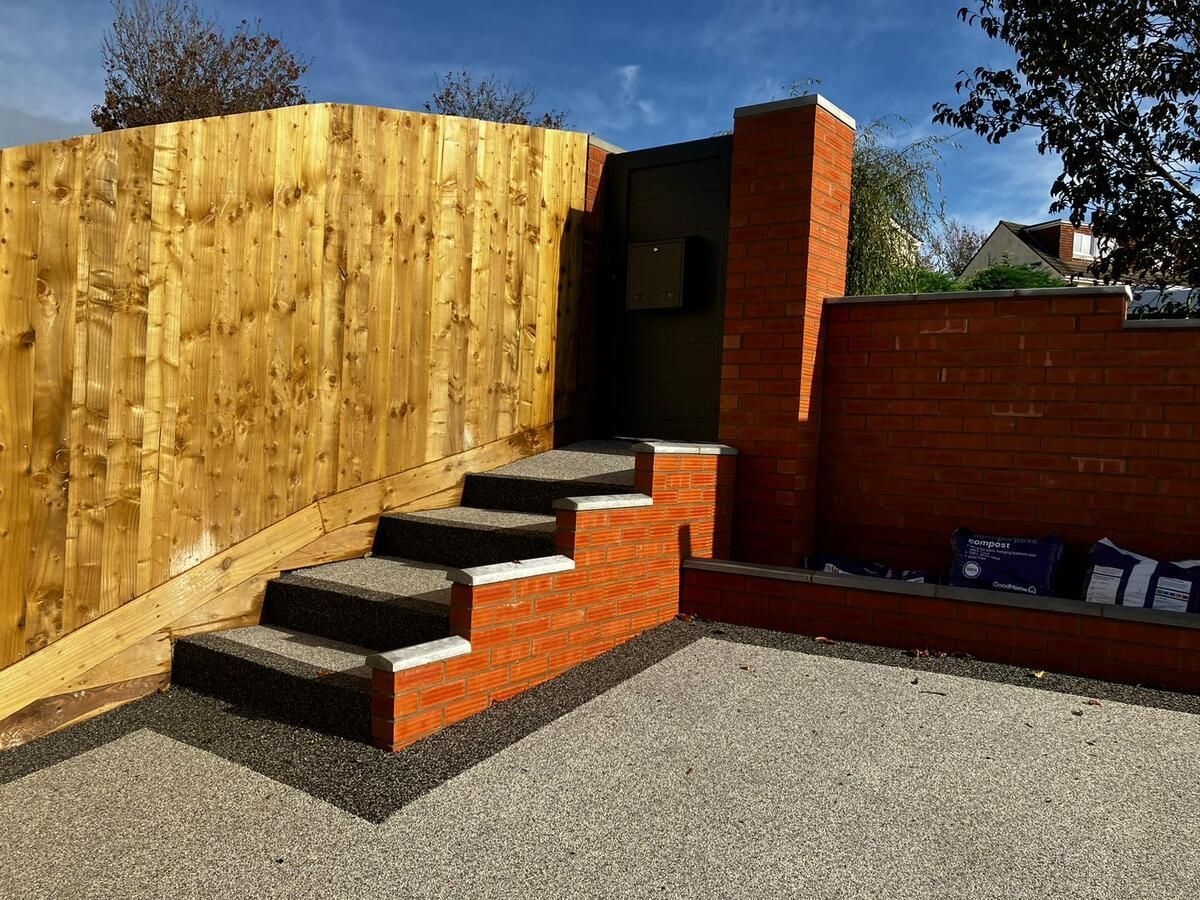
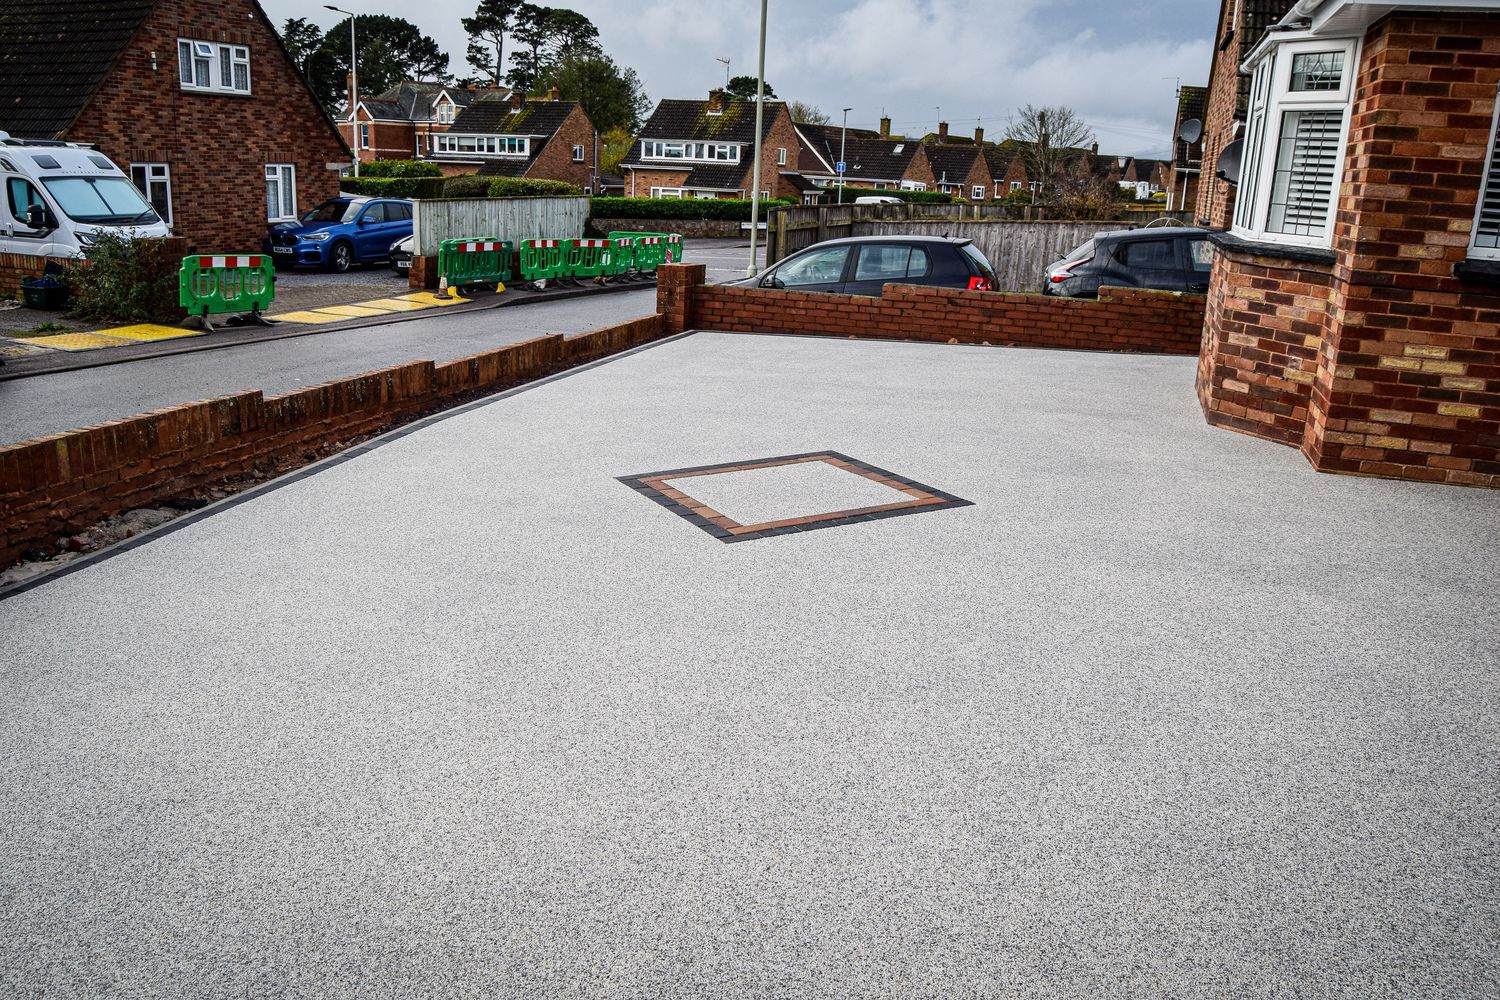
After the resin installation
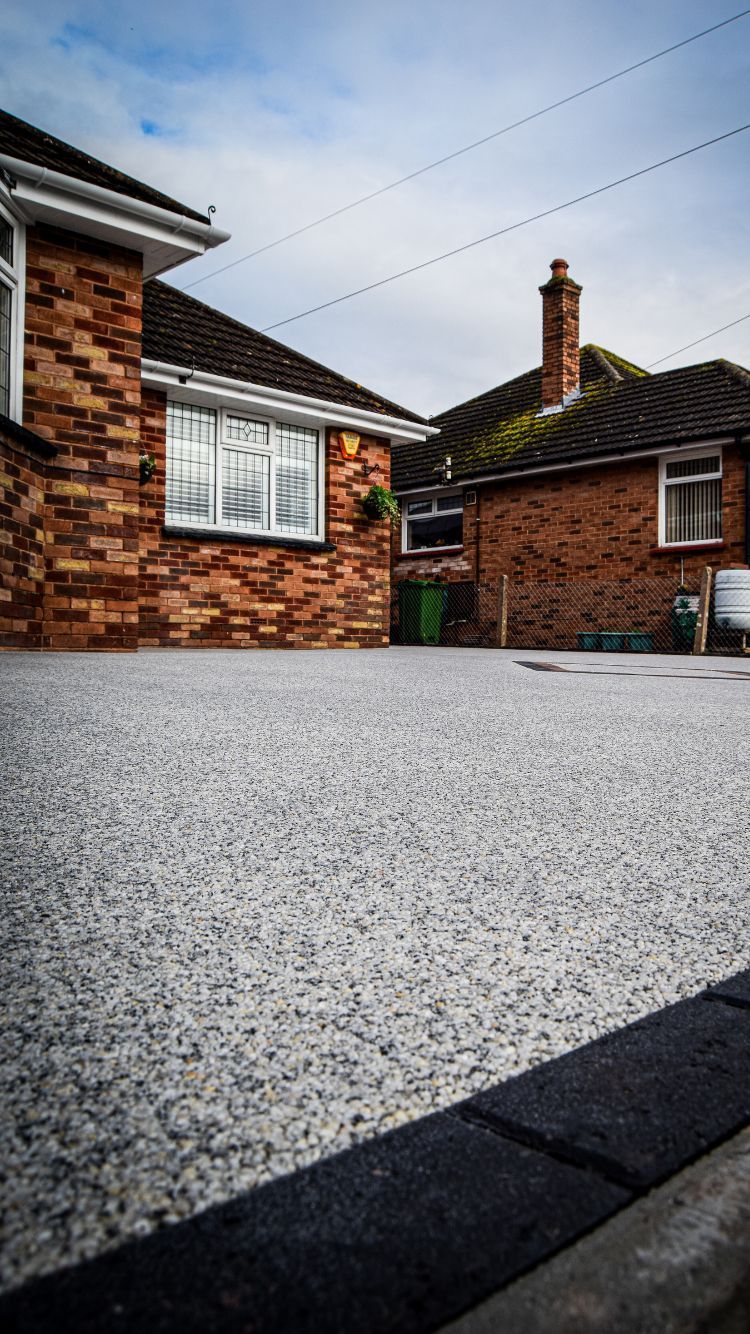
Stage 3: Curing Period
The driveway is now looking gorgeous, and it is almost finished. We recommend waiting at least 12 hours before walking on the resin and a minimum of 72 hours before driving on it.
Here are some photos of the beginning and end of our process. Replacing a driveway is a very rejuvenating, and it's something we really love doing!
Here are some pictures of the finished work.


Look at our video on YouTube.